Advanced Banner Slider User Guid
------------------------------------------------------------------------------------------------------------------------------------------
Version : 1.1.0
Created By : Umesh Sharma
Support : info@bassiwebs.com
Overview:
The Bassiwebs advanced banner slider is one of the Fully Responsive banner slider which will provide you a standard banner features for your store.
You can use the banner slider extension by creating multiple groups of images and can place these groups in different locations like:
CMS Pages
Static Blocks
Category Pages
Product Pages
Left and Right Columns
Multi Store
Any Custom Location using custom codes (see below for more detail)
Multiple Banner groups within one page
And many more …
Installation:
Backup Your Data
Backup your store database and web directory before installation.
Installation Method - 1
Download the extension package and unzip on your local computer.
Using FTP client upload app, js and skin folders to your store root
Installation Method - 2
If you are not aware about installation method 1, you can upload and install the extension package through magento connect.
Navigate: System >> Magento Connect >> Magento Connect Manager.
Use “Direct package file upload” option.
Configuration:
After successfully installation, login to your stores admin area and check the configuration.
Note: Always refresh the cache and logout/login again after successful installation.
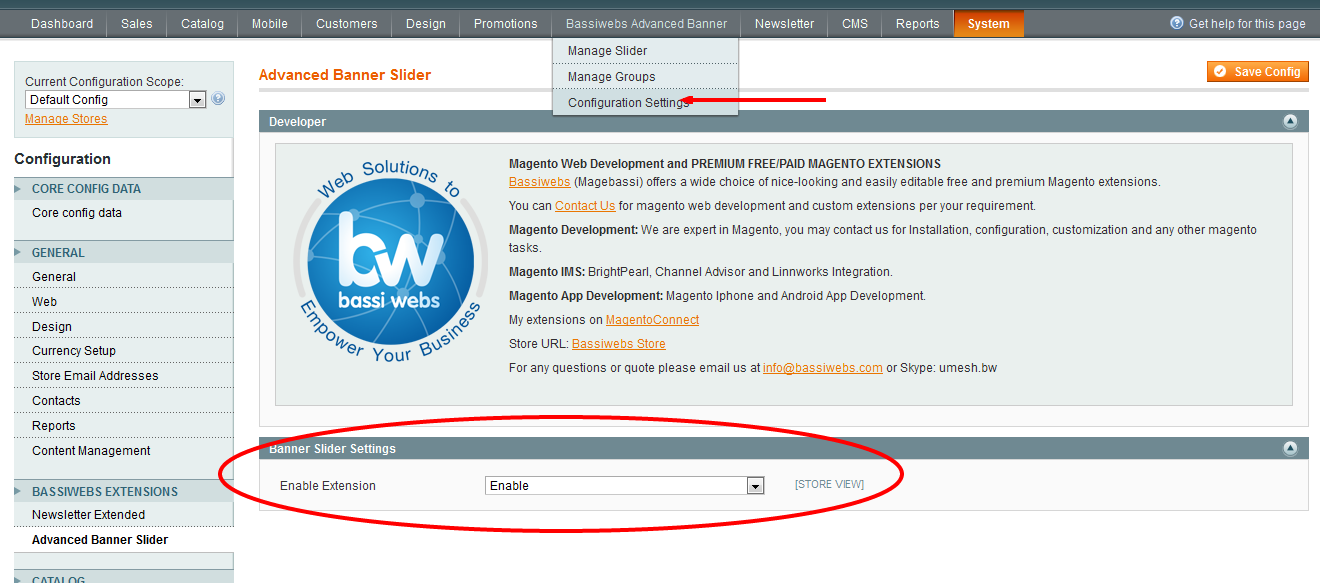
Check installed banner slider configuration:
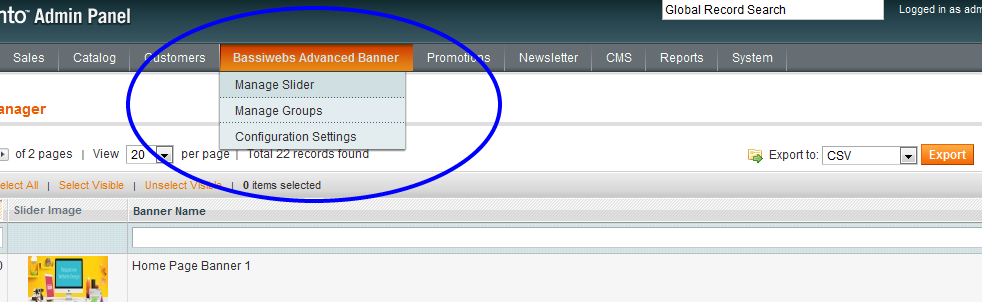
Navigate: “Bassiwebs Advanced Banner” Tab in top menu, you will find below three sub-tabs:
- Manage Sliders
- Manage Groups
- Configuration Settings
Please have a look on below screen shot:
Let’s explain one by one:
Manage Sliders:
First of all, you will need to create image banners from “Manage Slider” section.
- Click on “Manage Sliders” tab, there will be an option button to create/add new banner.
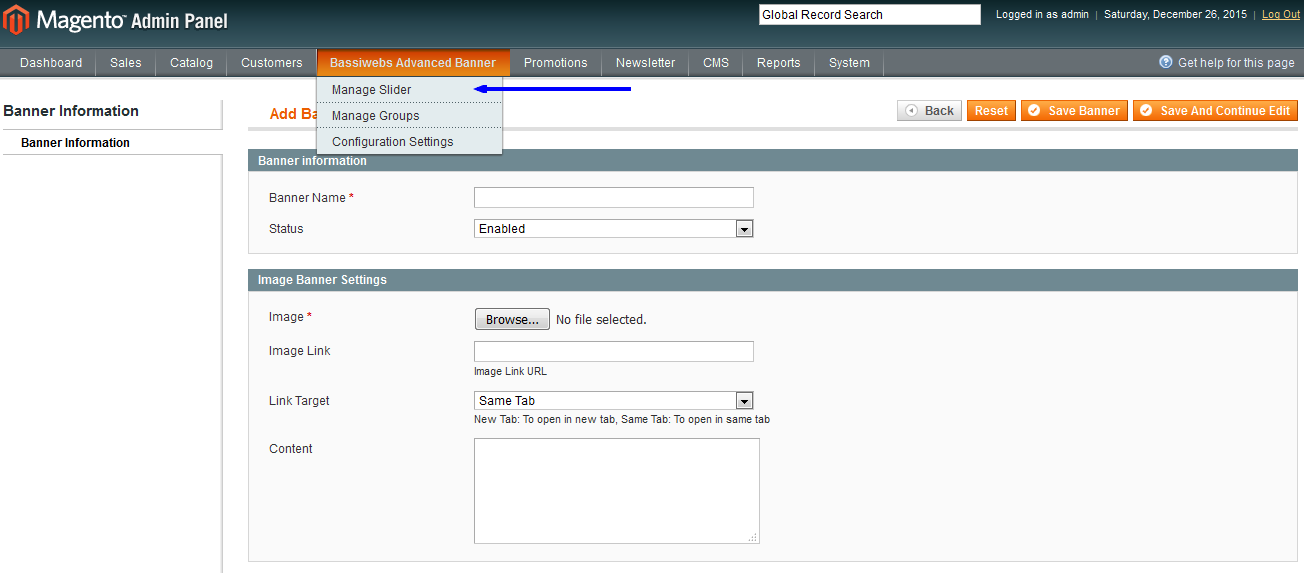
- After clicking “Add Banner” button, there will be Add Banner form.
- Fill the banner information and upload banner image.
- Click on “Save Banner” button to save the banner information and uploaded image.
It will look like below screen shots:
After creating one or more banners there will be a list of created banners in “Manage Slider” section.

Manage Groups:
Add a Group:
After successful banner creation, this is the time to create a banner group and assign created banners in group.
Steps to create and manage Groups:
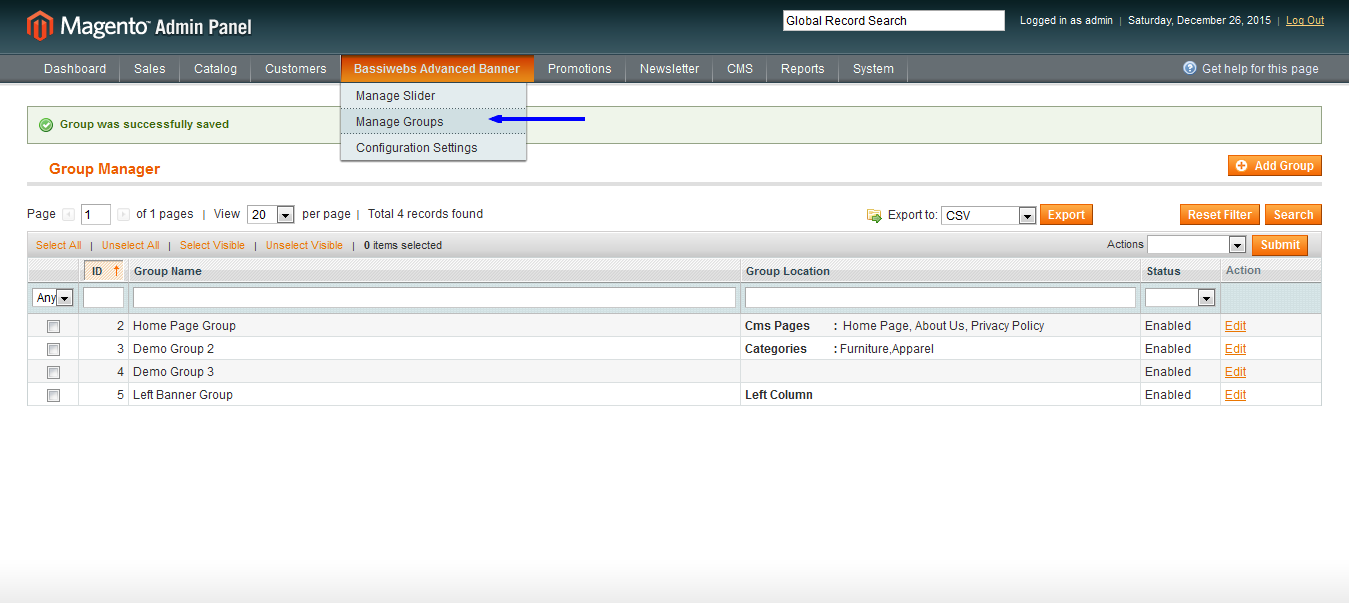
- Click on “Manage groups” tab from top navigation menu.
- There will be an “Add Group” button in top right corner, click on “Add Group” button.
- After clicking on “Add Group” button, it will be redirected to create a new group form.
Please have a look on below screen shot for the same:
In add a new group form, there are four tabs in right hand column:
Group Information:
Group information section provide the general options like group name, status, store views, group effects, group style…etc
Note: Store view only visible if your store has more than one store views.
IMP NOTE: Group effects and styles will only apply for respective group only. Using this feature you can apply different-different effects and styles on different-different banner groups.
Please have a look on below screen garb:

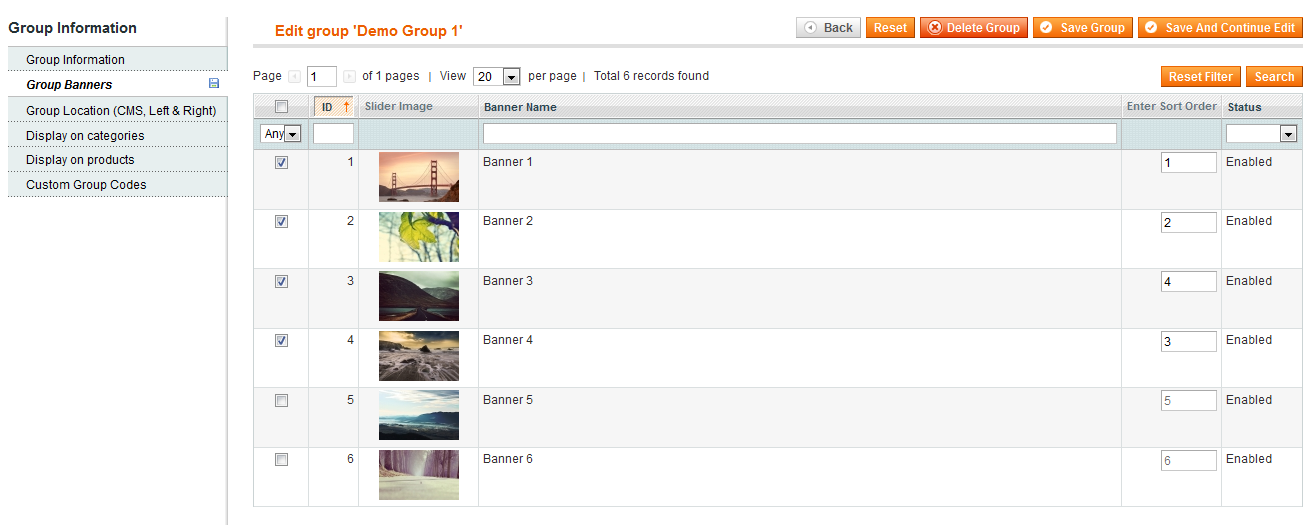
Group Banners:
Group banners section list/show the banners which you have already created in “Manage Slider” section.
You will need to assign any one or more listed banners in created group by clicking on checkboxes.
You can also assign banner sort orders for selected banners from “Enter Sort Order” column.
Please have a look on below screen shot:
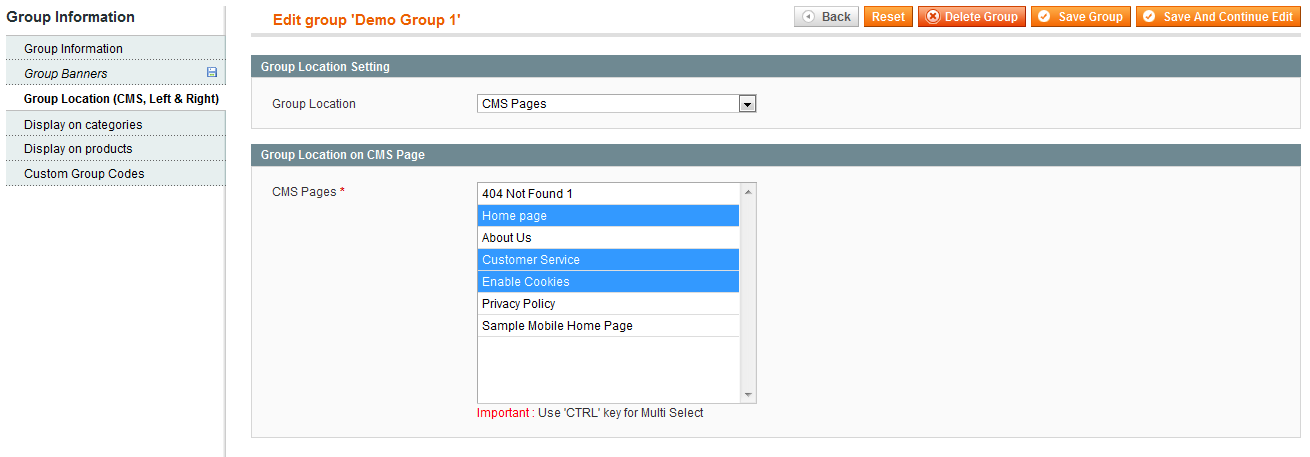
Group Location:
Group location section provides the ability to assign group locations for CMS, left and right column.
You can assign created group for single or multiple CMS pages or left and right columns.
Please have a look on below screen shot for the same:
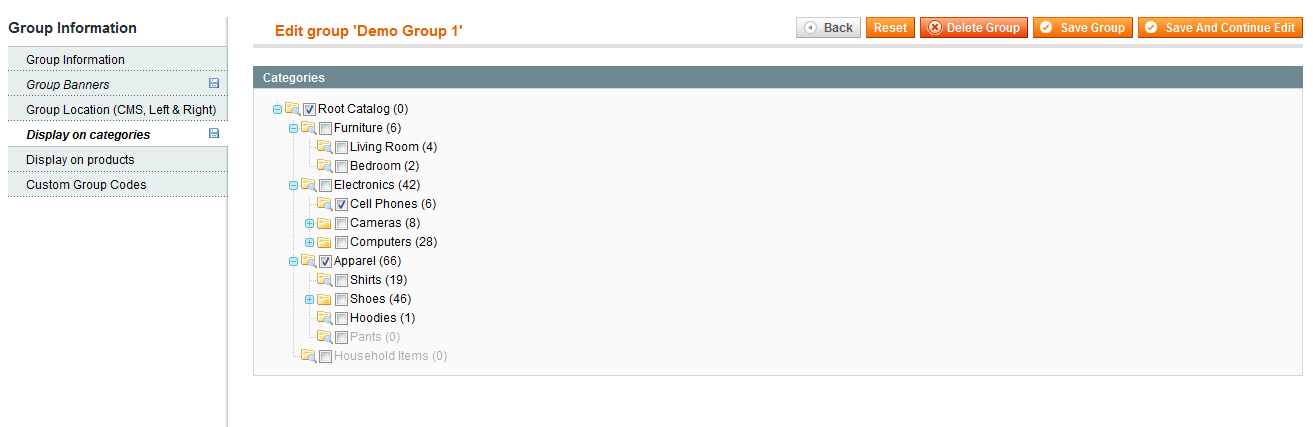
Display on Categories pages:
This section used to assign created group in one or multiple category pages. You will need to select categories where you want to show banners group.
Please have a look on below screen shot:
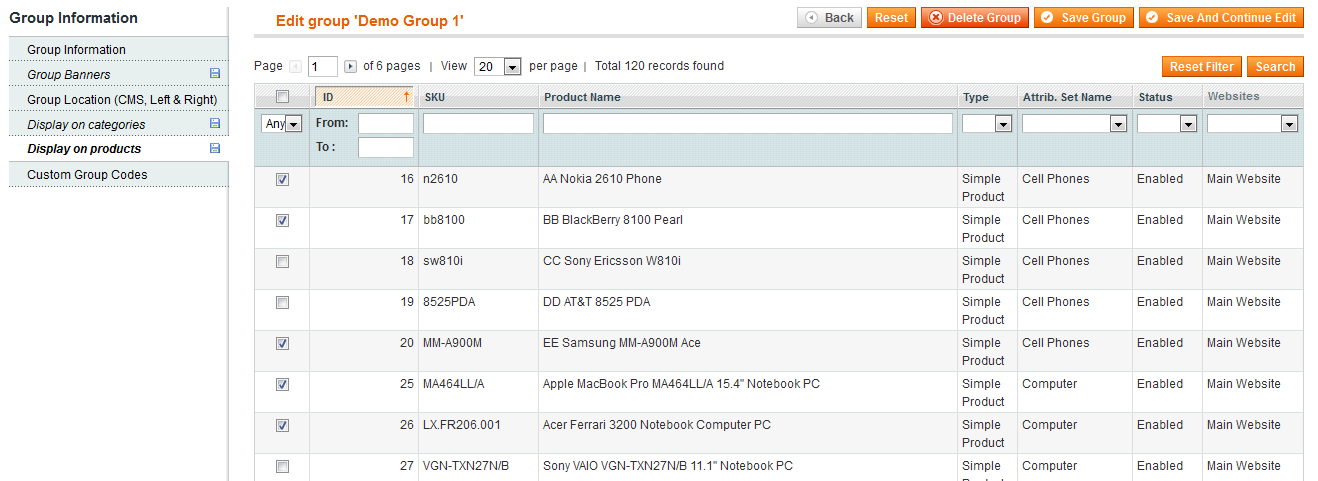
Display on Product pages:
This section used to assign created group in one or multiple product pages. You can select one or more product pages where you want to show banner group.
Please have a look on below screen shot:
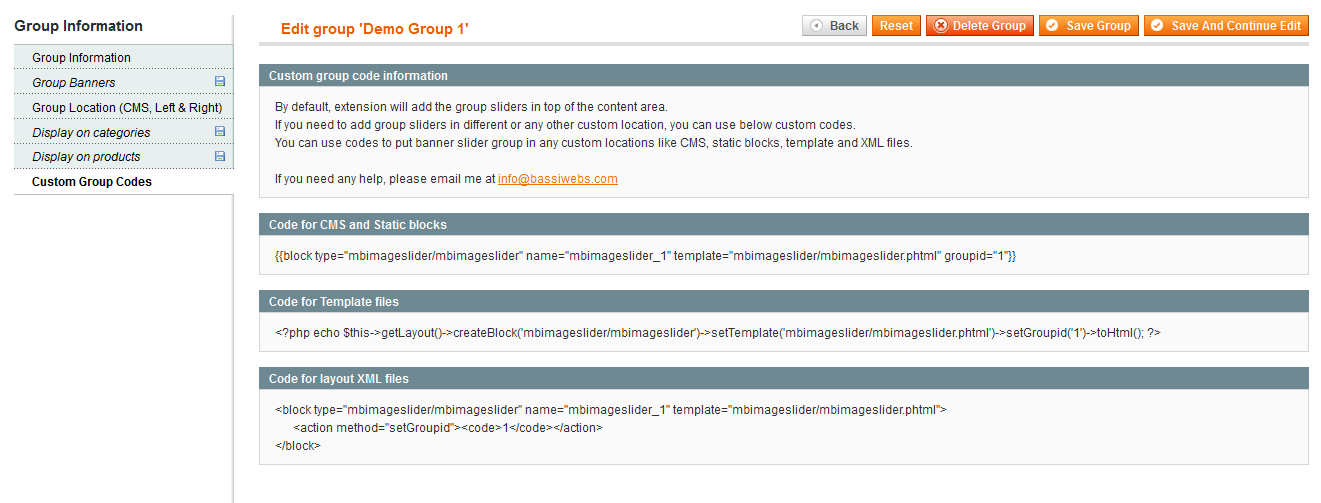
Custom Group Codes:
By default, extension will add the group sliders in top of the content area when use Group Locations section.
Using the custom group codes, you can add group banners in any custom location and can add multiple groups within one page.
Note: “Custom Group Codes” will appeared after group saved first time.
Please have a look on below screen shot for the same:
Settings:
You can enable or disable banner slider for whole website or for particular store views using “settings” section.
Please have a look on below screen for the same:
Your requirements, suggestions and queries are welcomed.
Email me at: info@bassiwebs.com
Visit us at: http://www.bassiwebs.com
Thanks !!